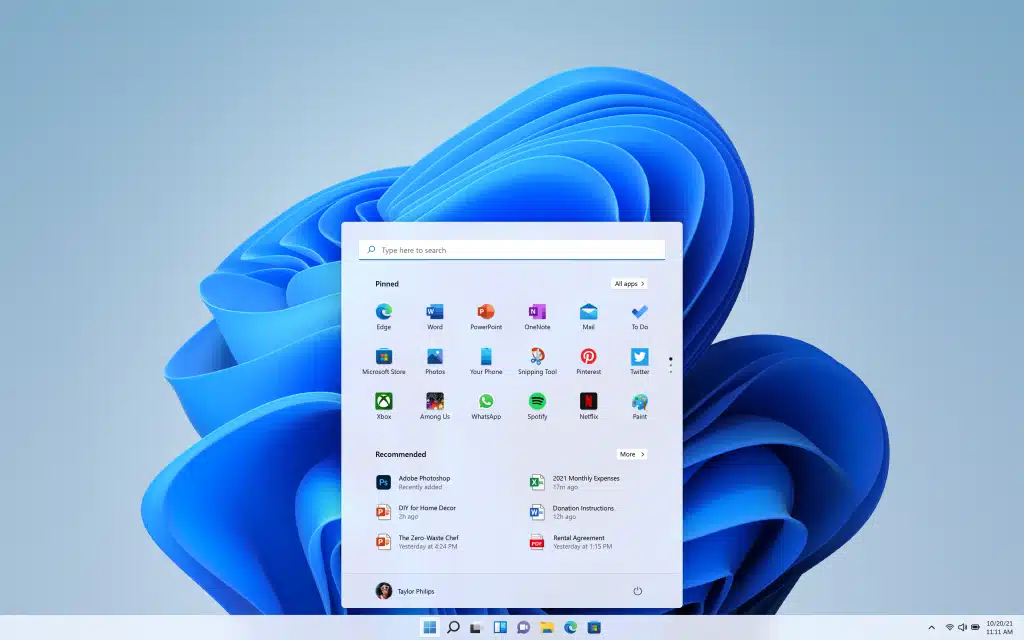
Microsoft released Windows 11 last year in October. After a complete year, it is still somewhat difficult to install and run Windows 11 on older PCs.
Still, a massive number of users are on Windows 10, 8, Windows 7, and older versions of the Windows OS.
Inarguably, Windows 11 is more visually appealing than its predecessors. But what if you could achieve the same visual appearance without upgrading to Windows 11?
Yes, it is possible to transform your copy of Windows 10 to look as if you were running Windows 11.
We will elaborate on the methods to change the appearance of your Windows 10 system using the best Best Windows 11 Themes, Skins, And Icons for Windows 10 PC.
As always, we will list out all the possible tweaks you can perform to achieve the perfect Windows 11 look.
Best Windows 11 Themes, Skins, and Icons for Windows 10
You will need to transform four elements to make Windows 10 look like Windows 11.
You will have to use the new Windows 11 wallpapers, icon packs, and themes, and adjust the taskbar position as it is on Windows 11.
There are two methods to achieve this level of customization.
- Using the SkinPack’s Windows 11 Theme Pack
- Using the SecureUxTheme Tool
How to Make Your Windows 10 PC Look Like Windows 11
Before jumping into the methods, take a pause and understand this – these methods make tweaks to system settings.
You must make a system restore point before implementing any of the two methods. Even if things go south and you can revert to the original Windows 10 appearance using System Restore.
It will restore your system to the point where all these customization tweaks didn’t happen. Moreover, you wouldn’t have to reset your system and waste hours setting it up again.
Method 1. Using the SkinPack’s Windows 11 Theme Pack
This method is pretty straightforward. You have to download and install a theme pack and official Windows 11 wallpapers. In addition, you must disable the anti-virus program on your system because most of them flag this as a threat.
To install Windows 11 Skinpack, repeat the following steps:
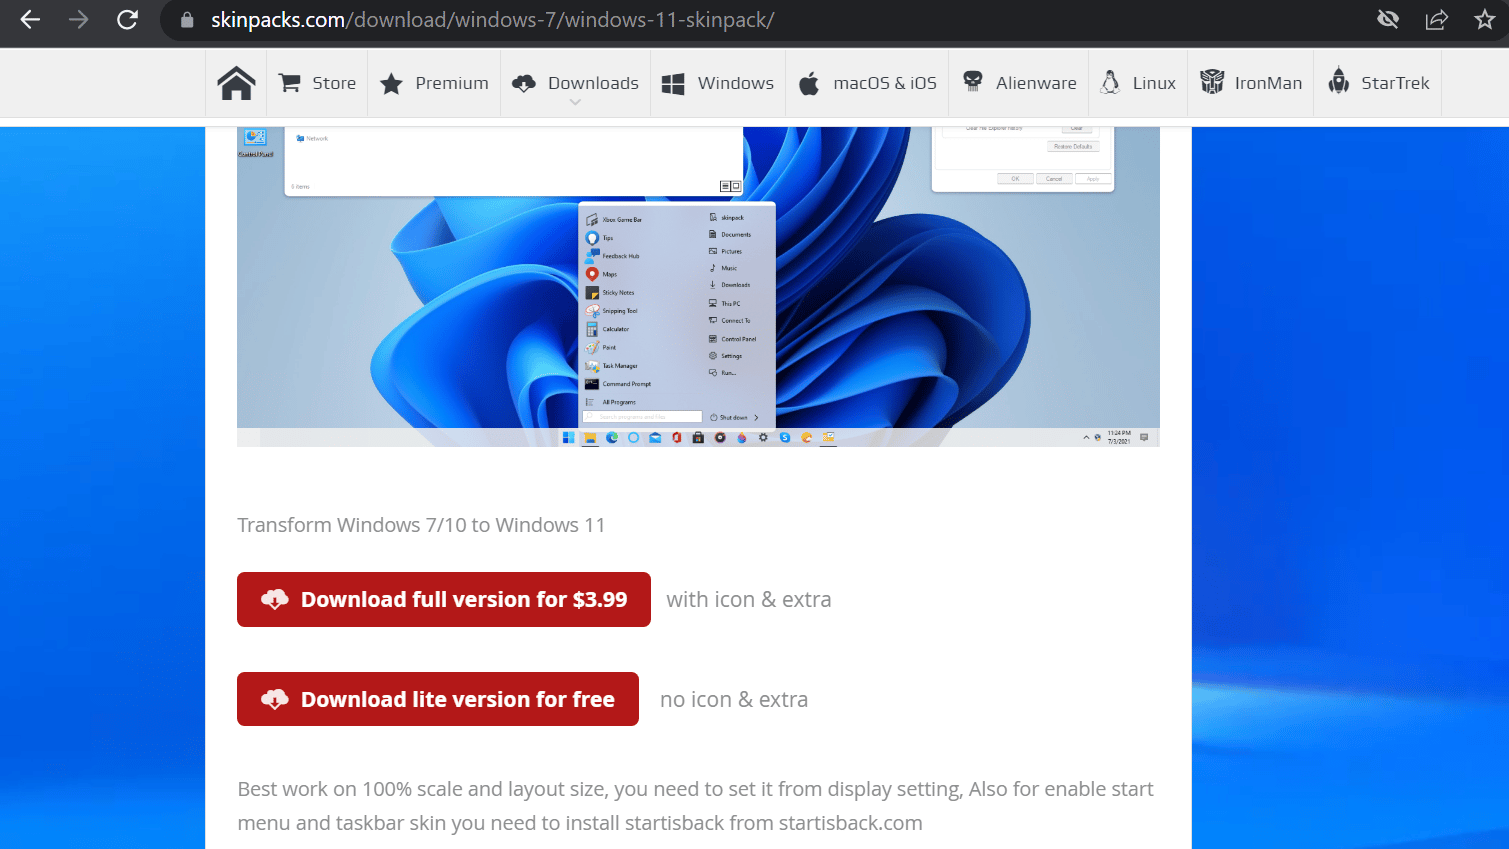
- Launch any web browser on your system. Go to the Windows 11 Skinpack download webpage.
- Scroll down and click on the Download lite version for free button. This theme contains all the basic files and icons required to mimic the look of Windows 11.
- Click on the Skip and download Windows 11 Skinpack button. On the new webpage, click the file ‘SkinPack Windows 11.sfx.exe‘ to begin downloading.
- Double-click to open the skin pack file and enter ‘skinpacks.com‘ as the password.
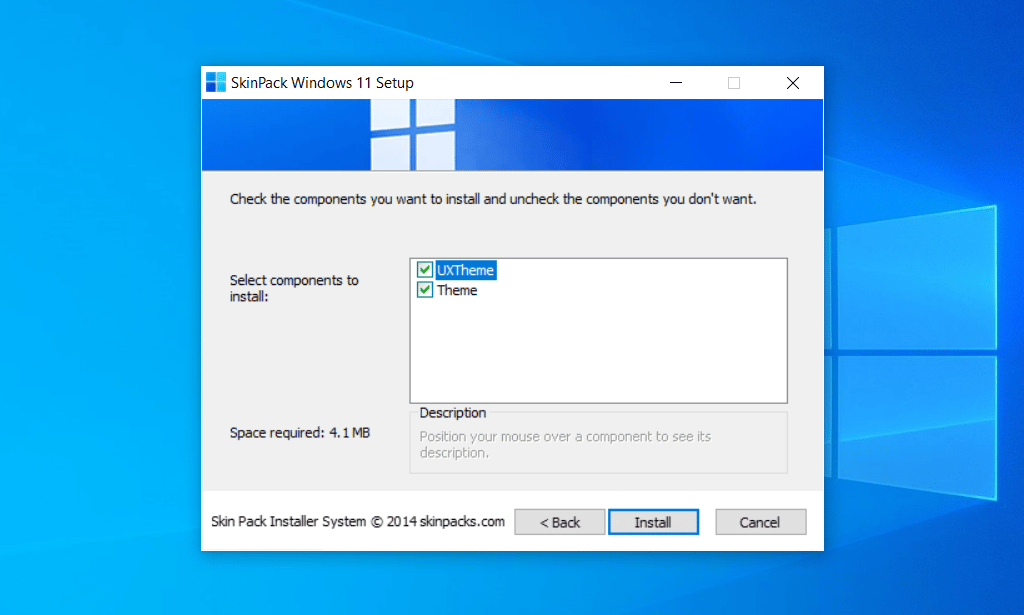
- Extract the theme file to any location on your system. Double-click on the file to start the installation process.
- Accept the EULA and then follow the onscreen prompts to install the theme. You will notice that the UI changes to Windows 11 as the theme installs.
- The setup will request you to reboot your system. Click on reboot now. Once your system boot up, you will notice that the UI now looks exactly like Windows 11.
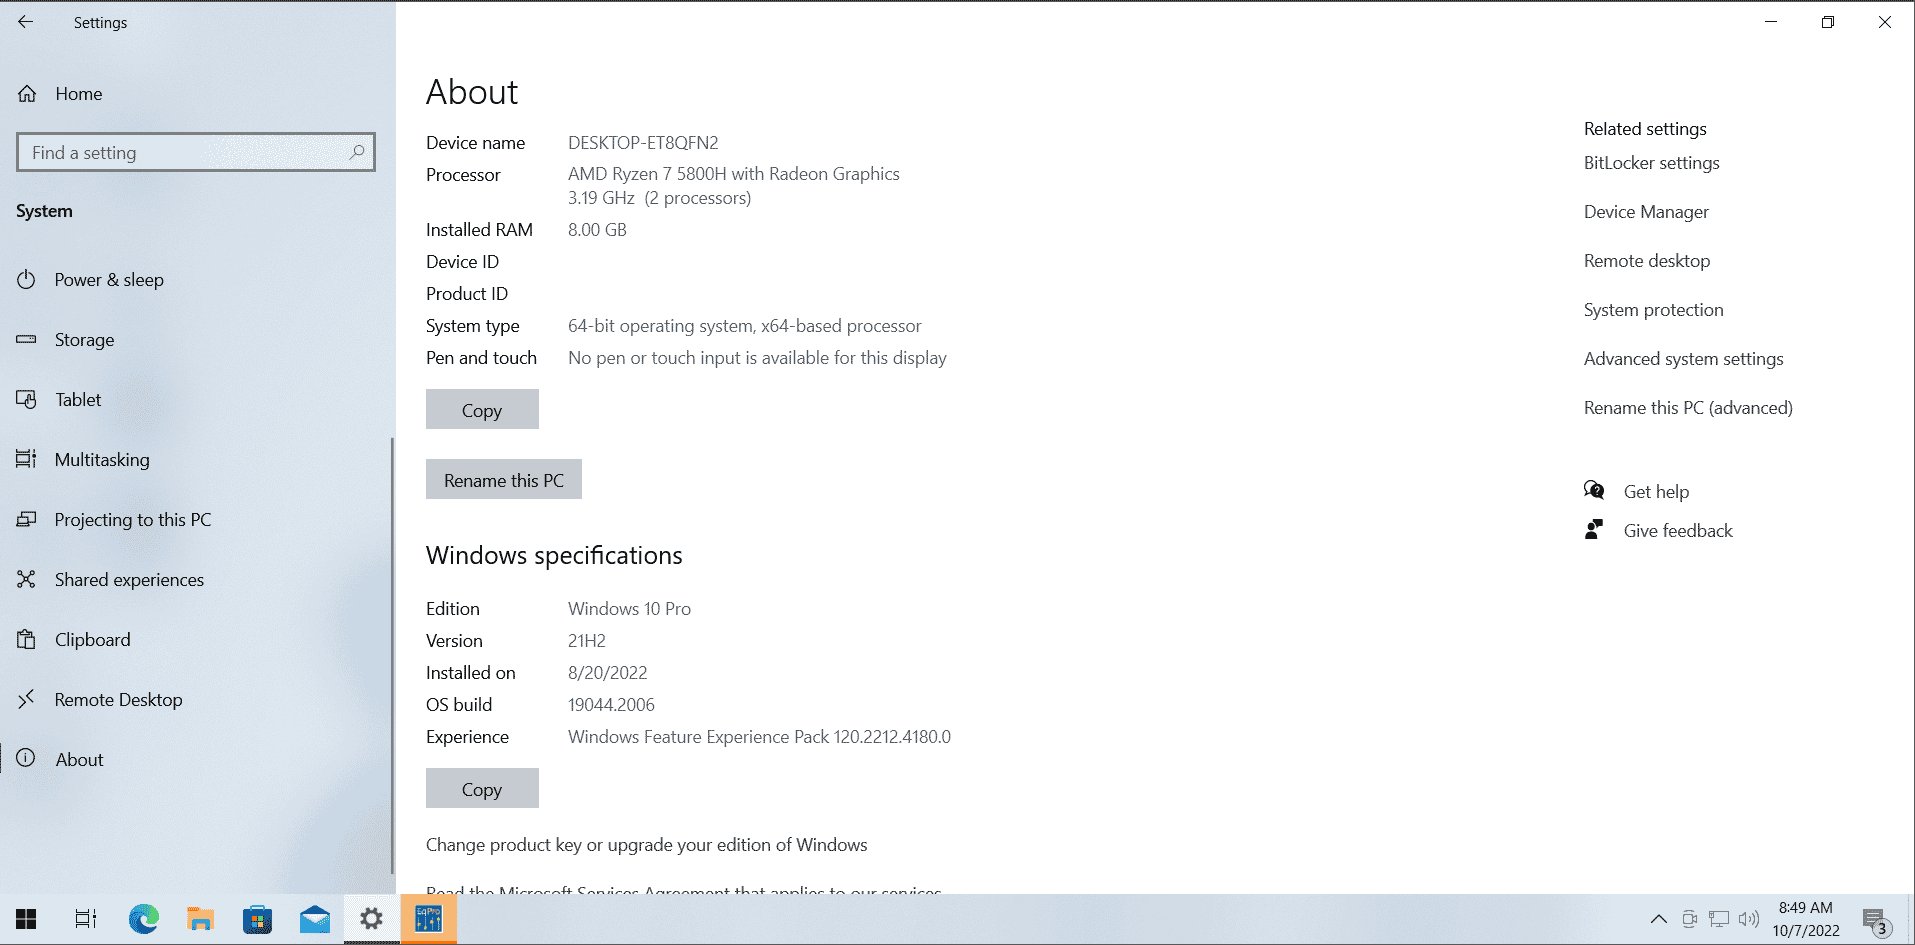
Note: We tried this Skinpack on Windows 10 with the latest 21H2 update installed on it. After installing the Skinpack, we encountered a BSOD error. But after a restart, the system was fine and the theme was working fine.
If you face a BSOD error, try shutting down and restarting the system. If the BSOD error persists, enter Safe Mode and uninstall the Windows 11 Skinpack from your system.
Also, note that you only get one Windows 11 wallpaper with this theme. You have to download the rest. If your system theme changes to the classic Windows theme abruptly, you must install UX Theme Patcher too.
Download Windows 11 Wallpapers For Windows 10 PC
Well, the above theme doesn’t include all the Windows 11 wallpapers. So, all you have to do is visit the Google Drive folder and download all of the 32 HD wallpapers released for Windows 11.
Then, you will have to manually browse for the wallpapers and apply them on the background or lock screen.
Method 2. Using the SecureUxTheme Tool
The first method was a simple installation and nothing more. But there are a lot of elements missing in the first method. You still have the taskbar aligned to the left-hand side. Moreover, you don’t have any control over the appearance and have just one theme to apply.
With SecureUxTheme, you can try multiple themes and not encounter compatibility issues. Here’s how to use the tool to achieve the Windows 11 theme experience on your system.
Downloading SecureUXTheme, Niivu’s Themes, and icon packs
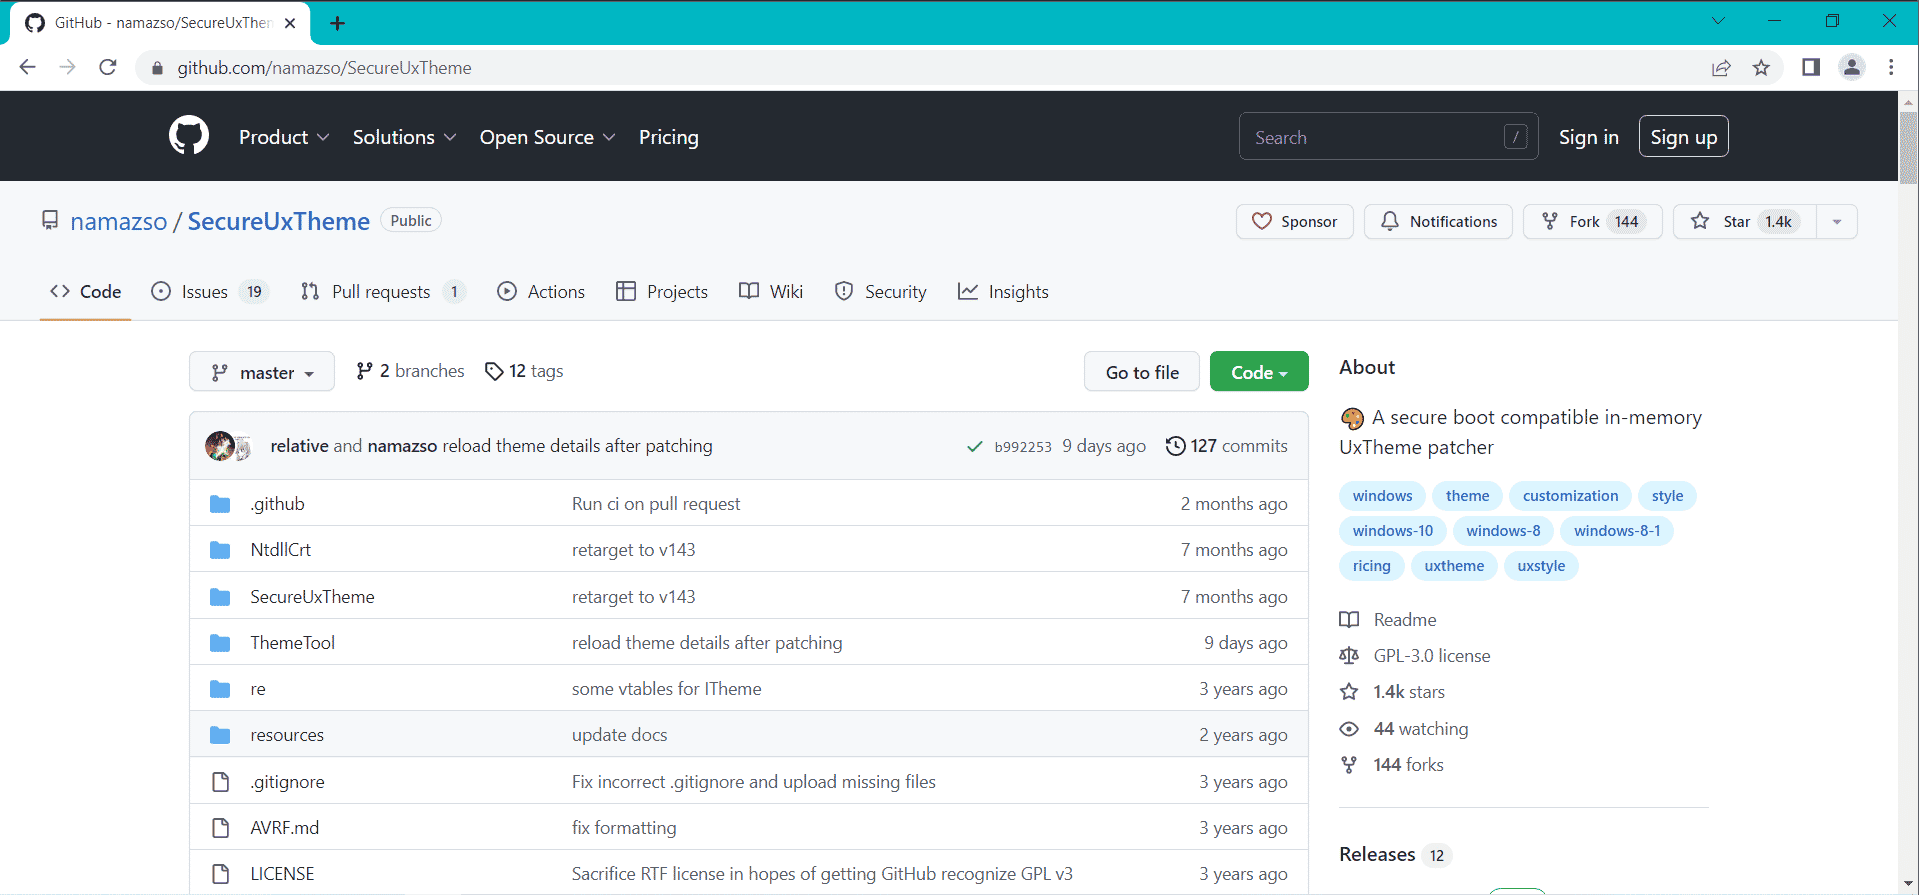
- Launch any web browser on your system and visit the official GitHub page for SecureUXTheme. Scroll down to the Downloads section and click on the latest release label to download the tool.
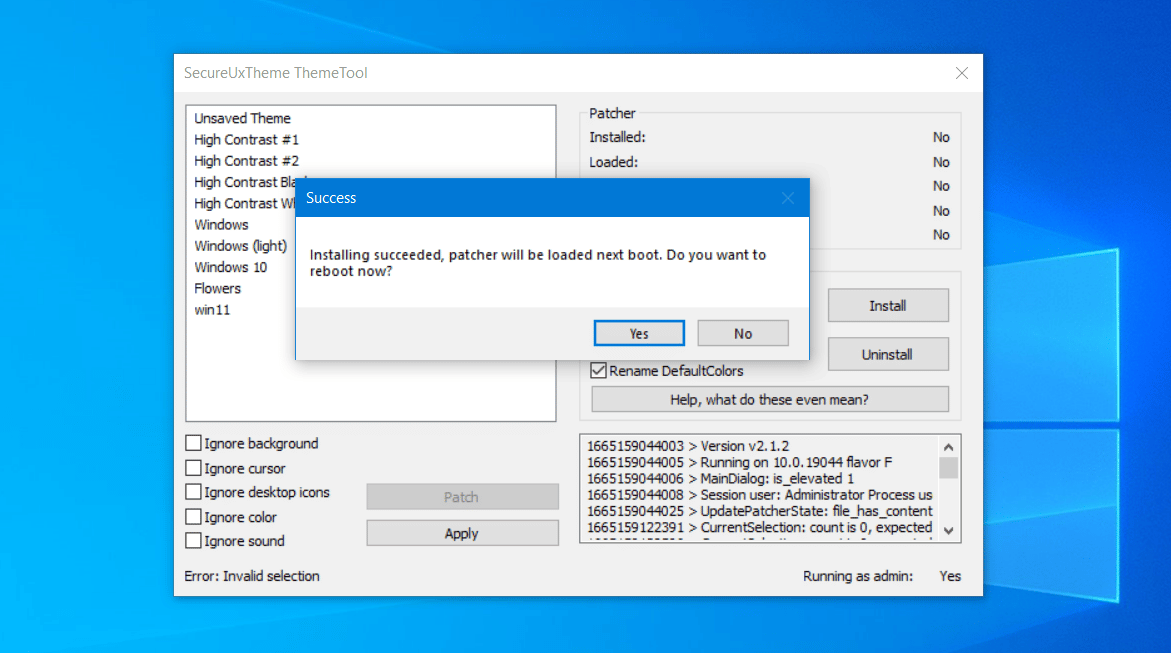
- Run the downloaded file with administrator privileges. Click on OK to confirm that you have read the EULA. Then click on the Install button. After installation, the app will ask you to reboot the system.
- Click on the Yes button and wait for the system to reboot.
- Now, you need to download the theme pack and icon pack from the Devianart website. But first, you have to signup on Devianart to download the file.
- After that visit the Windows 11 for Windows 10 and Windows 11 Icon Themes download page and download them.
- Extract the downloaded themes folder and locate the folder names Regular Taskbar and Thick Taskbar.
- Copy the contents of these two folders to the following location: C:\Windows\Resources\Themes
Applying the themes using SecureUXTheme
- Launch the SecureUXTheme tool with administrator privileges. You will now see the Windows 11 light and dark themes listed in the theme section.
- Select either 11 Dark or 11 Light theme, and then click the patch and apply button. Your screen will flicker while the tool applies the theme to your system.
- You have successfully installed the Niivu theme on your system. If you want, you can also patch any other themes from this pack.
- Close the SecureUXThemes tool now.
Adding Icons from the Niivu Icon Pack
So far, only the Windows 11 theme is up and running on your system. You have to add Windows 11 icons as well to complete the look. Here’s how to do it:
- Go to the downloads folder and extract Niivu’s Windows 11 Icon Theme to the same location.
- Now, open the extracted folder and then open ‘7TSP Themes for Windows 10 1903 and higher’ folder.
- Find the ‘7TSP Windows 10 New (default)’ file and delete the ‘.remove’ from its name. It will convert into a ZIP file now. Now copy the file and paste it into the C:\Windows\Resources\Themes location.
- Open any web browser and visit the official download page of 7TSP GUI 2019 Edition. Download the file and extract its contents. Rename ‘7tsp GUI v0.6(2019).ee‘ file to ‘7tsp GUI v0.6(2019).exe‘.
- Run the tool directly because it doesn’t require installation. Click on the Add a custom pack button.
- Navigate to the C:\Windows\Resources\Themes location where you pasted the icon pack archive file in step 3. Select the file and add it to 7tsp.
- Now, click on the Start Patching button. It will create a restore point and install all the files which can take a few minutes. Click on the Yes button when 7tsp requests a reboot to apply changes.
- You will see a ‘System has been patched’ notification after the system reboots. All the icons will be replaced with new Windows 11 icons.
Centering the Taskbar
At this point, your system should look exactly like Windows 11 with identical themes and icons. Only one tiny detail is missing – the centered taskbar present in Windows 11. To achieve this, we will use TaskbarX app.
- Open any web browser on your system and visit the TaskbarX app GitHub download page.
- Download the .x64 archive file and extract all its contents into a new folder named TaskbarX.
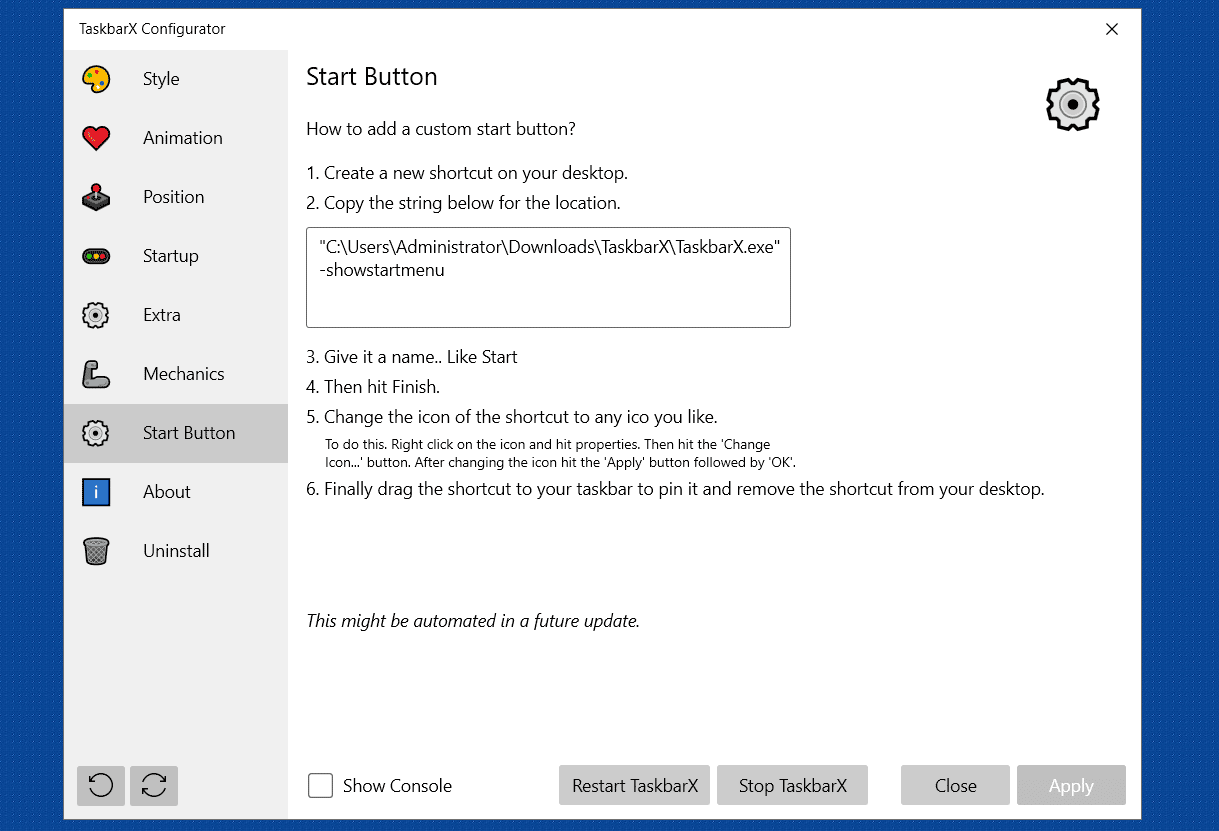
- Open the TaskabarX folder and launch the TaskbarX.exe file. You will notice that all the icons on the Taskbar will move to the center.
- However, the Start button will remain in the same location.
Applying Windows 11 Wallpapers
All that remains is to apply the latest Windows 11 wallpaper you downloaded previously. Open the personalization settings on your system and apply the new wallpaper.
That’s all! Your Windows 10 system now looks like Windows 11.
Limitations
The above-mentioned methods only make Windows 10 identical in appearance to Windows 11. But you don’t get the new Start menu, Action Center, and other features.
To experience all of that, you need to switch to Windows 11. If you are skeptical about Windows 11 instability, you can always run it on a Virtual Machine using VirtualBox or VMWare Player.
Why not upgrade to Windows 11 instead of putting in so much effort?
It isn’t feasible to upgrade to Windows 11 for many users. Microsoft requirements state that you need a decent system with newer-generation hardware. But not everyone is willing to upgrade system hardware just to run the latest Windows OS.
Apart from that, Windows 11 is relatively new and has a lot of kinks to fix and improve. So, you can wait it out until a perfectly stable build with all the features launches.
Meanwhile, you can use the Best Windows 11 Themes, Skins, And Icons to change the appearance of Windows 10.
Most of the tools/software mentioned in this post will be free to download and use. Try to follow the steps sequentially and don’t skip any of them to get the perfect Windows 11 look.
Conclusion
This concludes our take on Best Windows 11 Themes, Skins, And Icons For Windows 10. Please make a system restore point before you begin. If you don’t care about every tiny detail, you can use the first method which requires only downloading and installing a skin pack.
But if you want an identical appearance, use the second method which is a bit lengthy. If you encounter any roadblocks while trying out these methods, we are just a comment away from helping you.
FAQ
How do I make Windows 10 look like Windows 11/11 themes for Windows 10?
You can achieve the Windows 11 look on Windows 10 by installing a Windows 11 skin pack. It will add necessary visual changes to mimic the design of Windows 11. But if you want to have the flexibility to change themes, use the SecureUXTheme tool.
How do I get Windows 11 icons on Windows 10?
You will have to download the Windows 11 icon pack by Niivu from Devianart, Then, you will have to patch the icon pack on your system using the 7tsp app.
How to center the Taskbar icons on Windows 10?
TaskbarX is an app that tweaks the system registry to center the icons on the taskbar. Just download and run the app and all the icons except the Start button will show up in the center. It is a free tool.


