The full-fledged Windows 10 is hefty to be installed on a low-end PC, and you may encounter lags and performance drops if you have installed on such a PC.
This is one big problem if you have an old or low-end PC, or laptop and want to try Windows 10. You can install Tiny10, developed by NTEDV, on your system if you want to experience Windows 10 but do not want to have that extra load on your PC.
Tiny10 is the scaled-down lightweight version of Windows 10, which means you will get features and UI somewhat similar to Windows 10, but it will put less load on your PC.
But where to download the Tiny10, and how to install it on my system? This Tiny10 download guide will help you install Tiny10.
What is Tiny10?
Tiny10 is the stripped-down version of the Windows 10. It comes with all the features of Windows 10, including the CMD, Disk Management, Device Manager, Notepad, Wordpad, etc.
Being the stripped-down version of Windows 10, it cuts down most of the default apps like Windows Security, Internet Explorer, and Media Player. It removes all the unnecessary apps and bloatware while maintaining all the essential core features of Windows 10.
Tiny10 has lesser RAM usage and storage requirements. On a 32-bit system, 1GB RAM is sufficient to run Tiny10, whereas on a 64-bit system, 2GB RAM is enough to run Tiny10. The installation size of the Tiny10 is also less when compared to the full-fledged Windows 10. On a 32-bit system, Tiny10 takes around 5GB of space; on a 64-bit system, it takes around 10GB of space at max.
Tiny10 Download Link
Given below are the Tiny 10 Download Link for all the available versions that you can use to download Tiny10-
- 1809 Beta2 x86- Link
- 1809 Beta2 x64- Link
- 2303 x86- Link
- 23H1 x64- Link
- 22H2 Beta2 x64- Link
- 22H2 Beta2 x86- Link
- 22H2 Beta1 x64- Link
- 23H2 – Link NEW
How to Install Tiny10?
After downloading the Tiny10 from the above links, the next step is installing it. You will have to create a bootable USB drive of Tiny10 and then install it on your PC using the bootable USB drive. The installation process is quite similar to Windows 10, so if you have previously installed Windows 10, you won’t face any problems while installing the Tiny10. Given below are the prerequisites and the steps to install Tiny10-
Prerequisites to Install Tiny 10
- Download the Tiny10 from the links given above.
- Download Rufus on your PC. This is to create a Tiny10 bootable USB drive.
- You must have a USB drive with 8GB storage. Copy the contents on a USB drive as it will be formatted during the process.
Steps to Install Tiny10
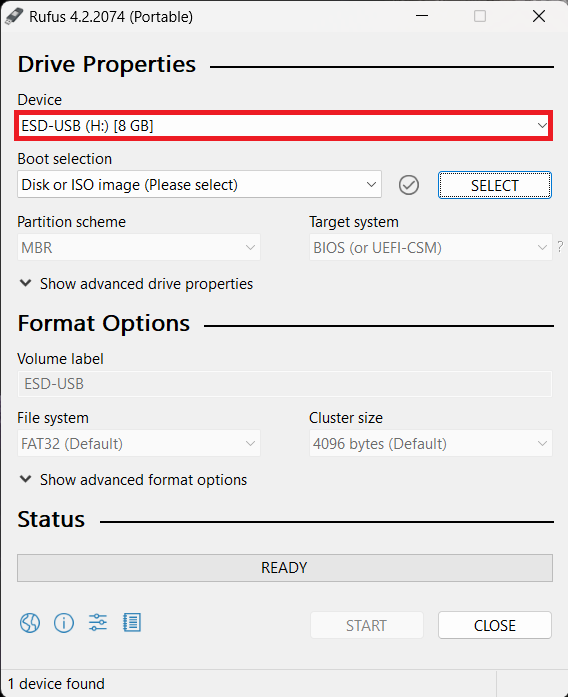
- Connect the USB drive and then launch Rufus on your PC.
- Rufus will automatically detect the USB drive connected to it. If you have multiple USB drives connected to it, then click on the drop-down menu under Device and select the USB drive you want to use.
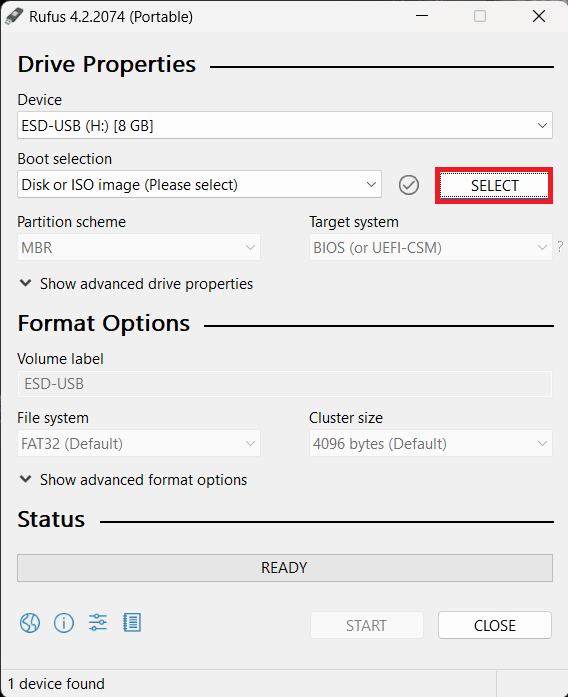
- Next, click on the Select button.
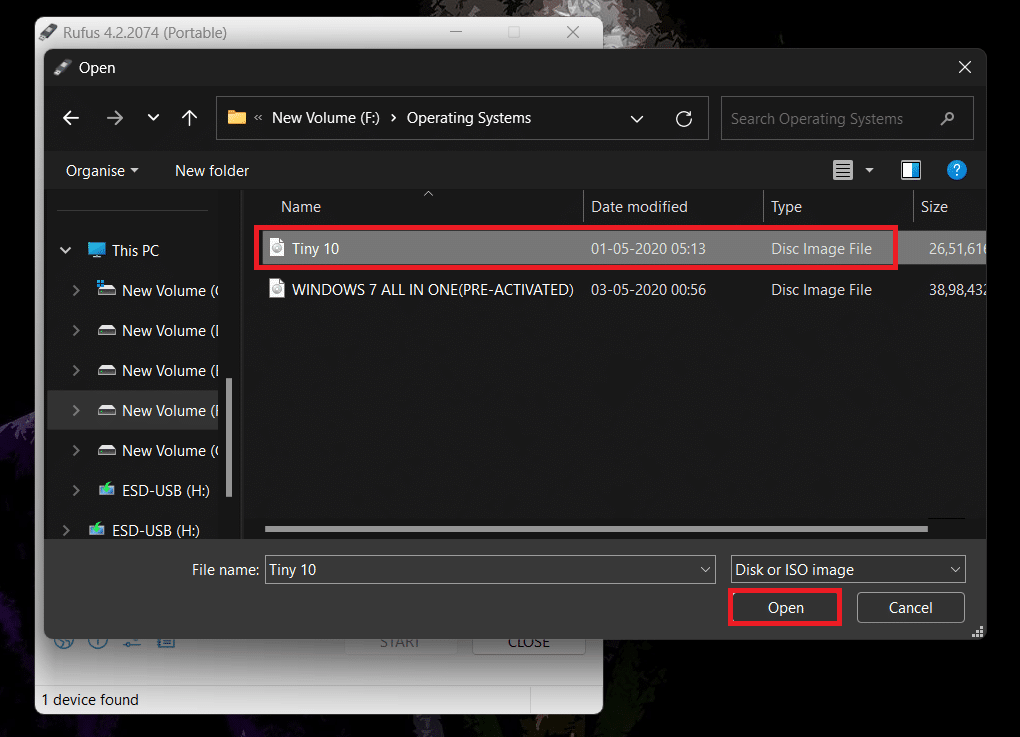
- Head to the location where the Tiny10 ISO is downloaded. Select the ISO file, and then click on the Open button.
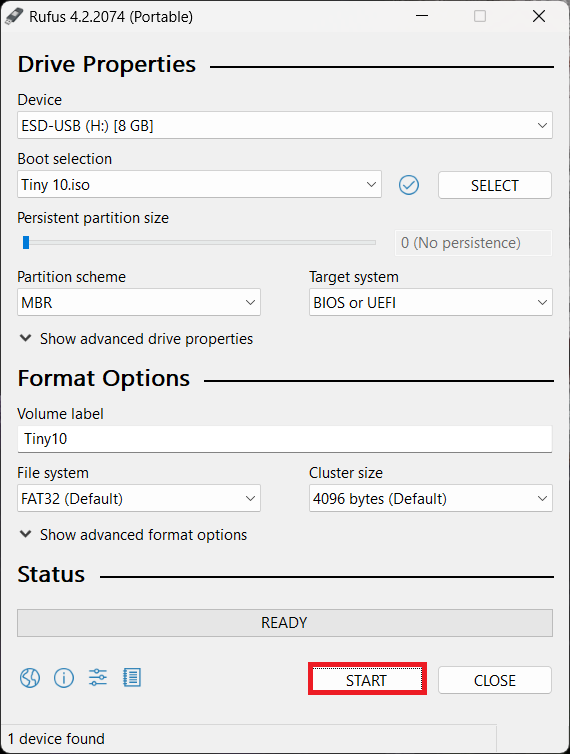
- Once done, click the Start button to create the bootable USB drive.
- Wait until the process is finished, then close Rufus and eject the USB drive.
- Now, show down the PC on which you want to install Tiny10 and plug the bootable USB drive on that PC.
- Press the Power button to turn on your PC, and as soon as your PC starts, press the Boot Menu key. This boot menu key will be different for various motherboards and laptops, so you must check your motherboard/laptop’s guide for the boot menu key.
- From the boot menu, select the Tiny10 bootable USB drive.
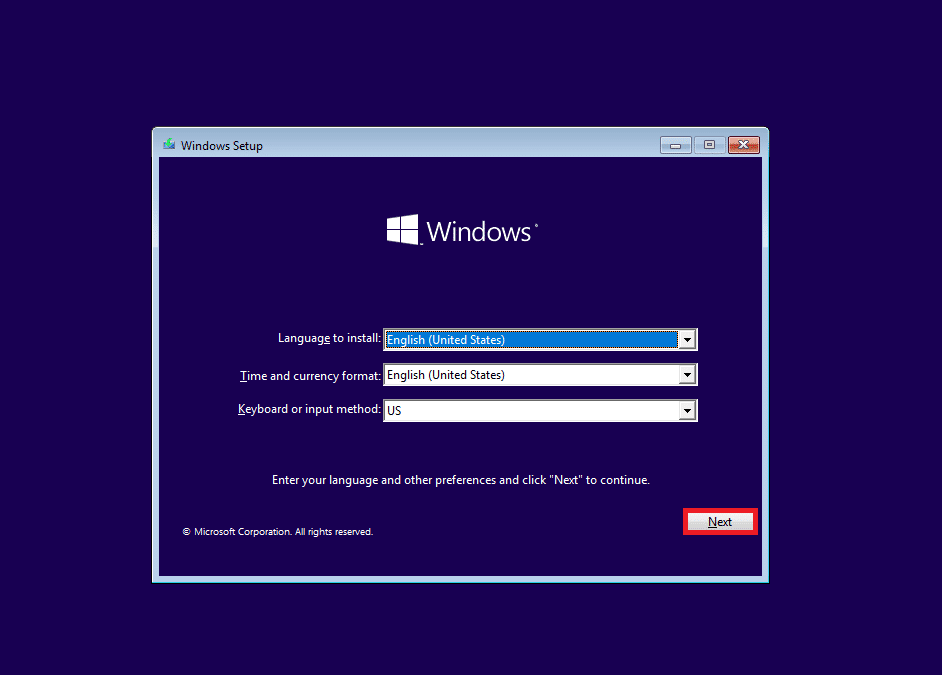
- You must now select the Language, Time and currency format, and Keyboard or input method. Once done, click on the Next button.
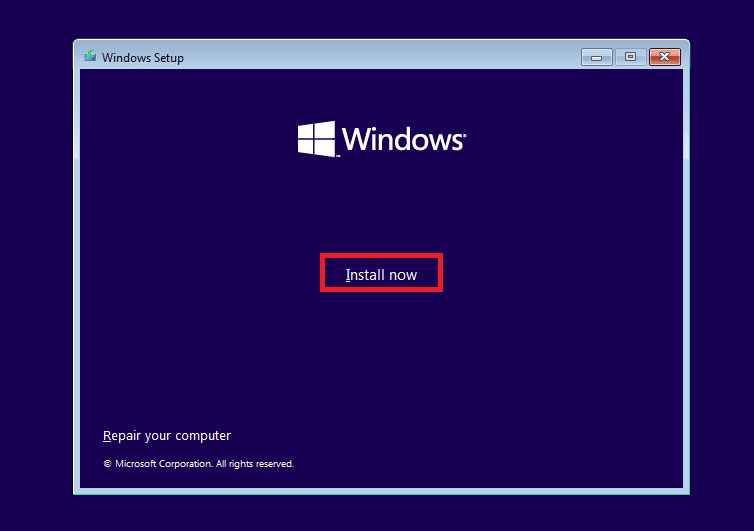
- Click the Install Now button on the next screen to continue the process.
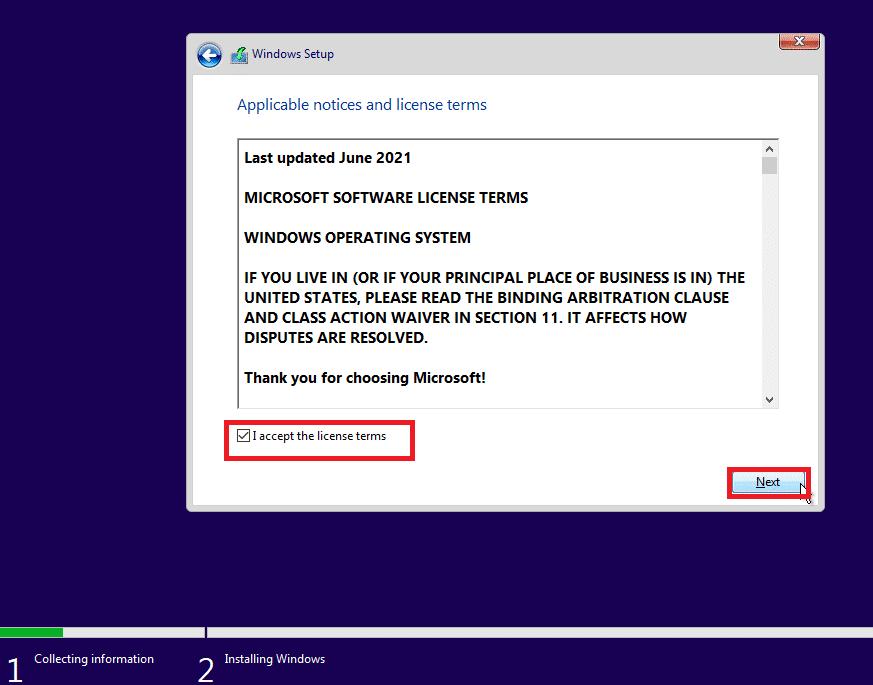
- Check the ‘I accept the license terms’ and then click Next.
- Now, click the Custom: Install Windows Only (Advanced) option.


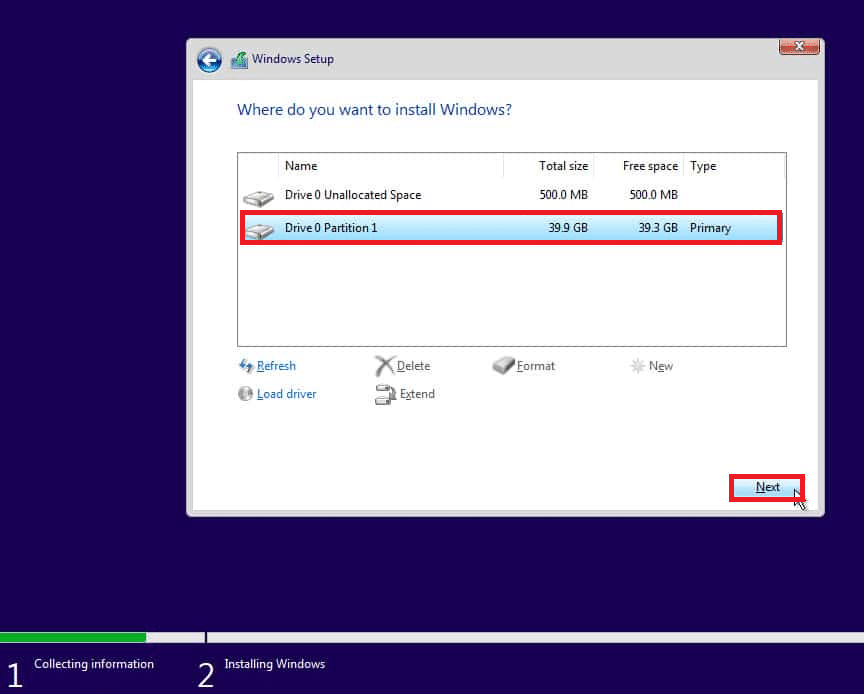
- You must select the partition on which you want to install Tiny10.

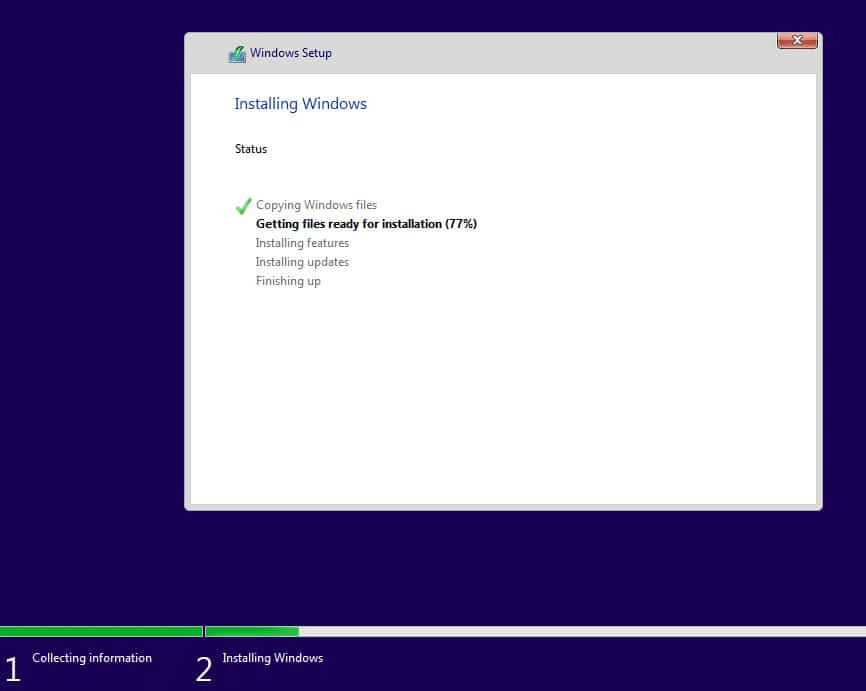
- Tiny10 will now start installing on your PC. You will see the process status on your screen. Your PC may restart several times during the installation process.
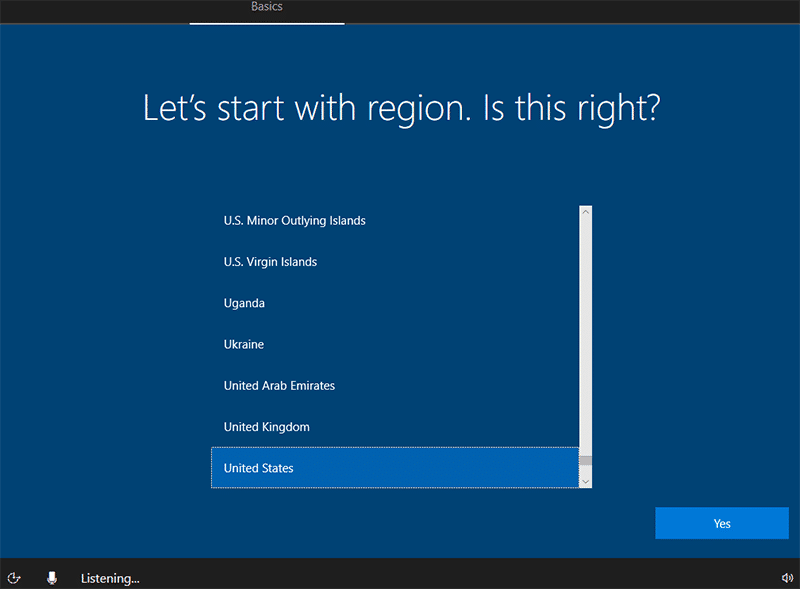
- Once the Tiny10 is installed, you will see the setup screen, and you can now setup Tiny10 as per your preference.
Final Words
That’s it, guys; you can download Tiny10 and install it on your PC by following the steps mentioned above. When you install Tiny10, you will notice that most Windows 10 apps are missing. It is because the developer decided to let go of most of the basic apps that come with Windows 10 to keep it lightweight. However, you can install all the third-party apps the normal way like you do on Windows 10.