
Download Tiny 11 ISO
You can download Tiny 11 ISO from the Internet Archive. There are two versions available for Tiny 11 ISO-
| Windows Version | Tiny11 Latest |
| Size | 3.5 GB |
| Version | 2311 |
| Download Button | Download Tiny 11 ISO 2311 |
| Windows Version | Tiny11 |
| Size | 4.2 GB |
| Version | 22H3 |
| Download Button | Download Tiny 11 ISO 22H3 |
How to Install Tiny 11 on a PC?
Once you have downloaded the Tiny 11 ISO, you can follow the steps given below to install it on your PC.
| Note – Take a backup of your important files and data before moving forward |
Step 1: Make a Bootable USB
First, you will have to make a bootable USB using the Tiny 11 ISO you have downloaded using the above links. This bootable USB will later be used to boot the PC with Tiny 11 and install it on the system.
We will use Rufus in this guide, but you can use any other tool for creating an installation media.
Before you continue, ensure you have a USB flash drive with at least 8GB capacity. Also, ensure there are no files on the USB flash drive, as they will be deleted during the process.
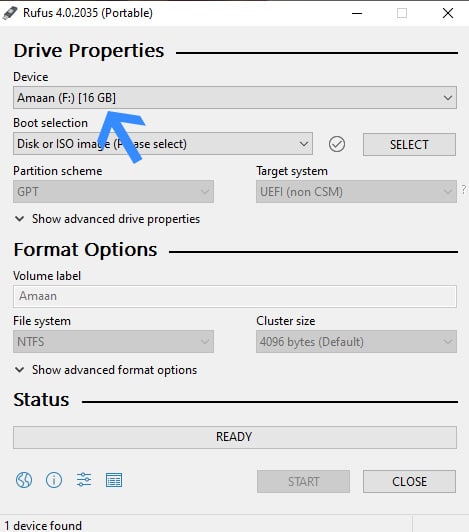
1. Launch Rufus and select your USB drive.
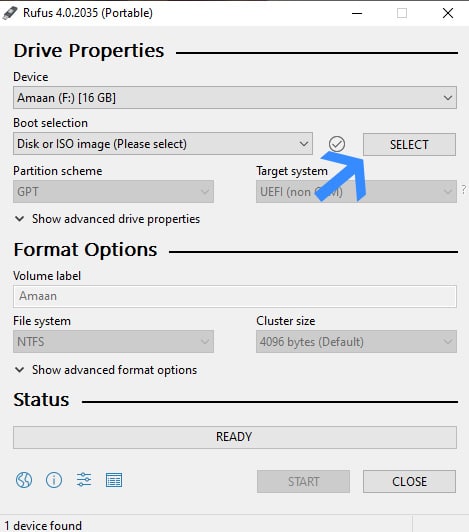
2. Click Select to load the Tiny11 ISO which you downloaded in the last section.
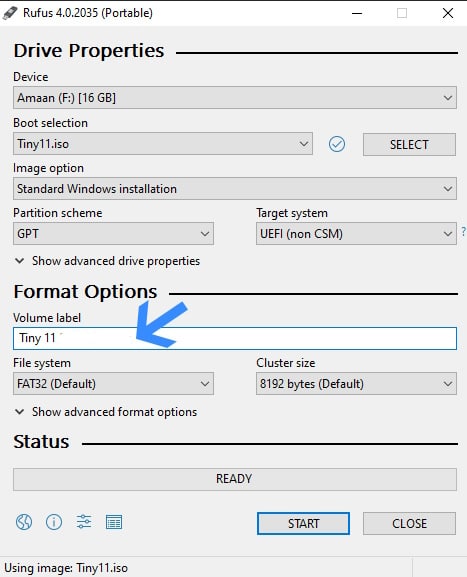
3. Next, go to the volume label section and choose a name for your flash drive. You can call it anything you like.
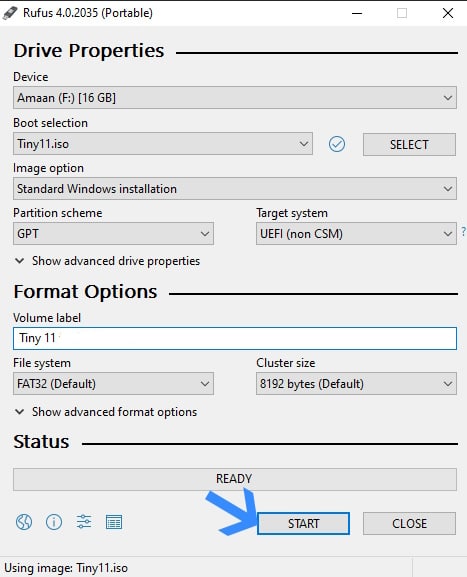
4. Now, press Start and wait for a few minutes until the process finishes. You’ll see a message letting you know it’s done successfully once everything is complete.
Step 2: Install Tiny 11
Once you have booted your PC with the USB, you will be prompted with the installation wizard. The installation wizard will be similar to the original Windows 11.
0. Plug in the installation media we created and then restart the computer while pressing the boot menu key. It would vary depending on the company and manufacturer.
Laptops
| Brand | Boot Menu Key |
| ASUS | F8 |
| Acer | F12 |
| Dell | F12 |
| HP | F9 |
| Lenovo | F8, F10, F12 |
Desktops
| Motherboard Brand |
Boot Menu Key |
| ASUS | F8 |
| Gigabyte | F12 |
| MSI | F11 |
| Intel | F10 |
| ASRock | F8, F11 |
| Biostar | F9 |
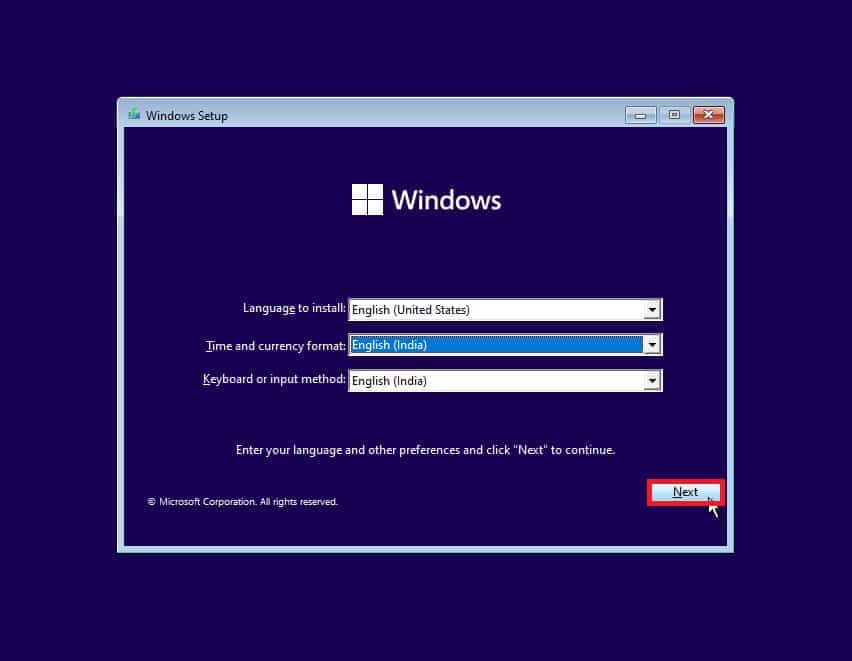
1. You will be asked to select the language, time and currency format, and keyboard or input method. Once you have selected them, click on Next.
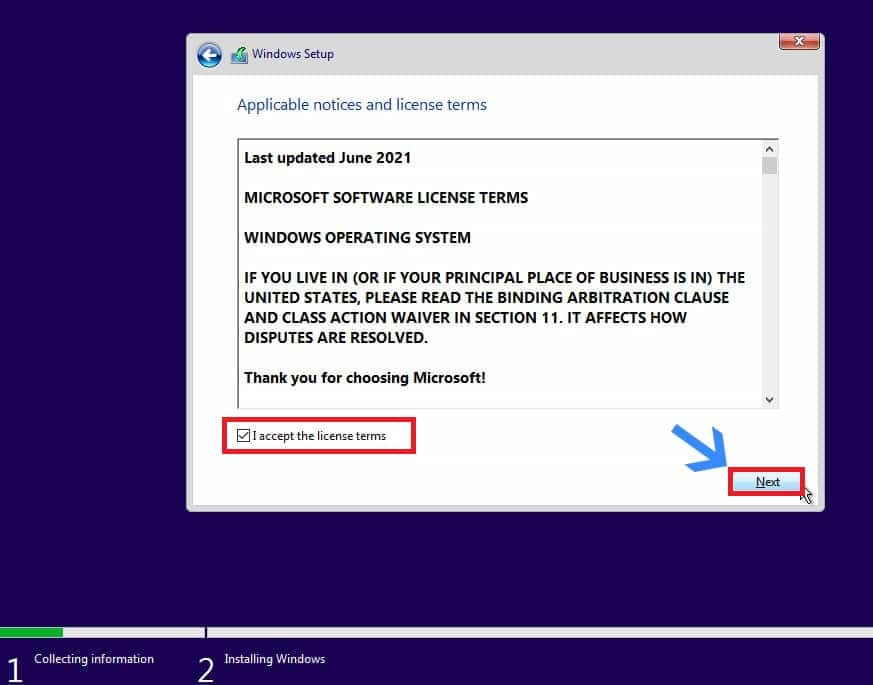
2. Accept the license terms by checking the checkbox saying ‘I accept the license terms,’ and then click Next.
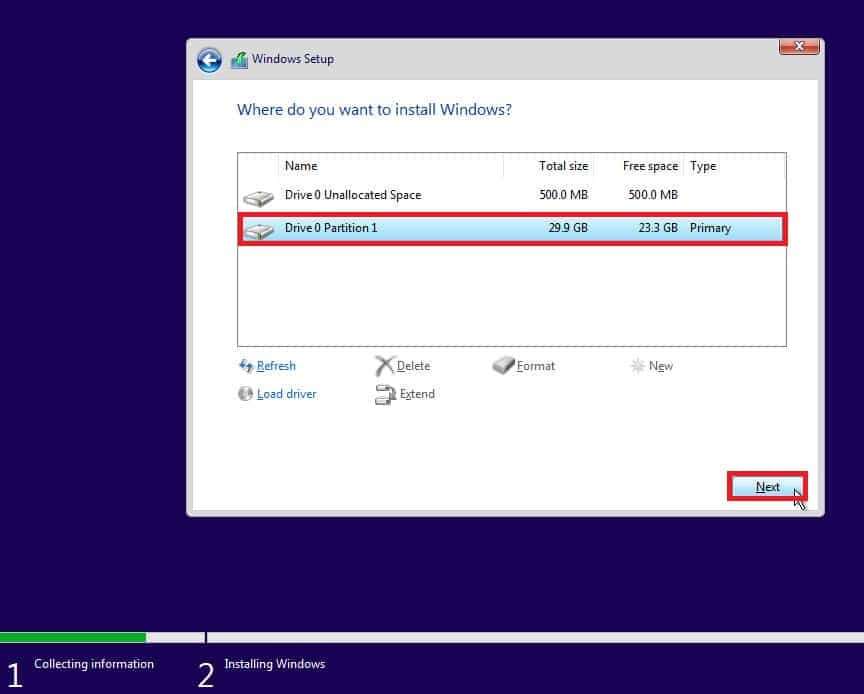
3. You will be asked to select the partition to install Tiny 11 on. If you want to delete, create, or format a partition, you can do it from this screen. After selecting the partition, click on the Next button.
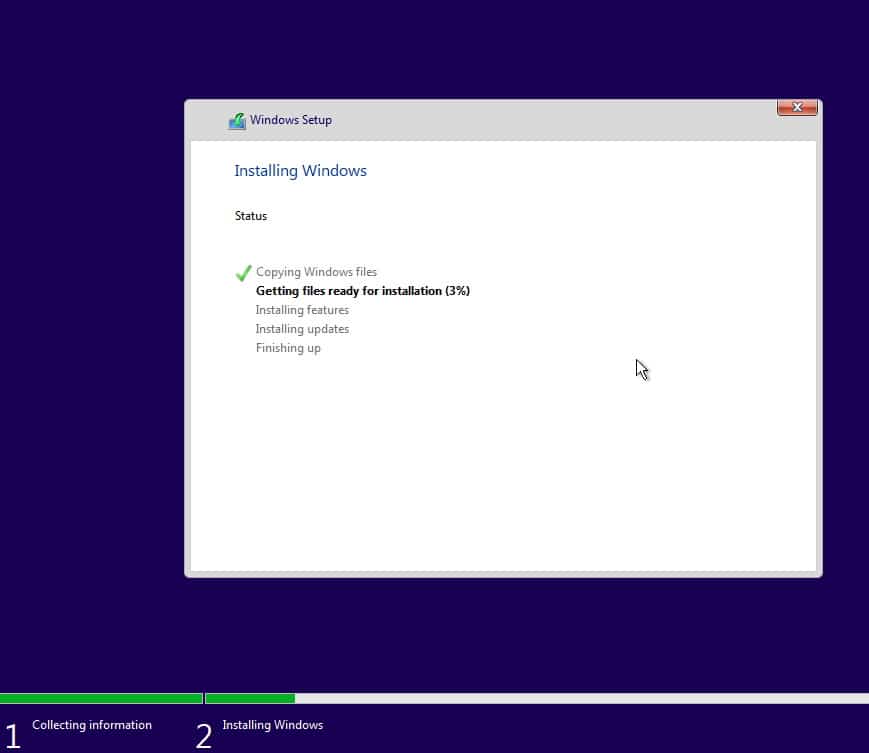
4. The installation process will now start. It will take a few minutes for the process to complete successfully, and your PC may restart several times during the process.
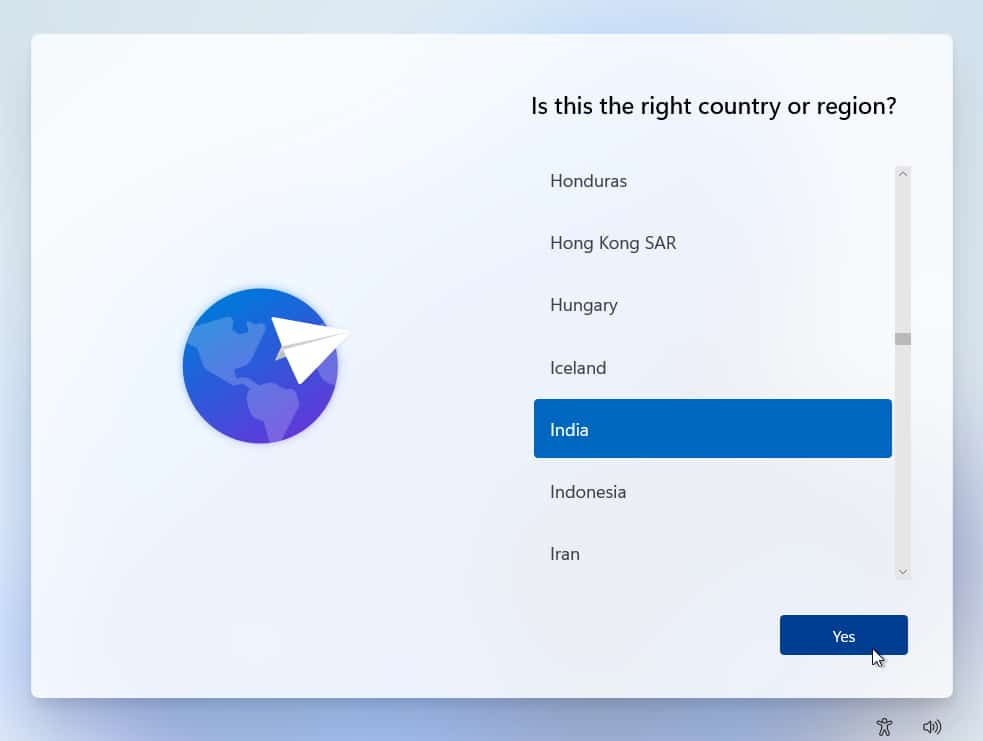
5. Once done, you will see the welcome screen. You will have to set up your device according to your requirements.
After you have done this, your device will start with Tiny 11, and you will see a Windows 11-like interface.
Features of Tiny 11
Features of Tiny 11 are similar to Windows 11; however, Tiny 11 will lack a few features that Windows 11 has. Given below are some features that you will see on Tiny 11-
- Tiny 11 supports all the basic apps that Windows 11 has, like Paint, Notepad, Snipping Tool, Windows Security, etc.
- You can install Tiny 11 without signing into your Microsoft Account.
- It works without issues on low-end PCs, requiring less RAM, CPU, and storage.
- You will have access to the Microsoft Store.
Difference Between Windows 11 and Tiny 11
As Tiny 11 is a spin-off version of Windows 11, there will be some differences between them. Some notable differences between Windows 11 and Tiny 11 are as follows.
| Windows 11 | Tiny 11 | |
| Require Microsoft Store for Setup | Yes | No |
| Microsoft Teams | Yes | No |
| TPM 2.0 and UEFI Secure Boot | Yes | No |
| Lightweight | No | Yes |
| Automatic Updates | Yes | No (requires manual update) |
Download and install Tiny11 now
This is how you can download Tiny 11 ISO on your PC for free and install it on your device. You can follow the above guide to install Tiny 11. Make sure your laptop is charged completely to install Tiny 11.


